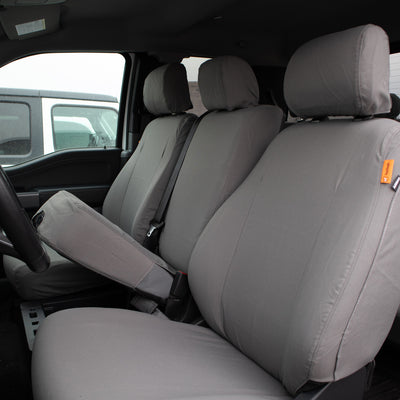
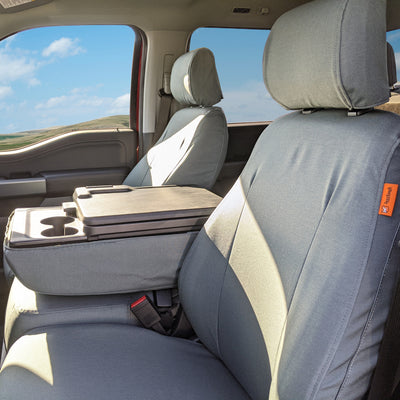
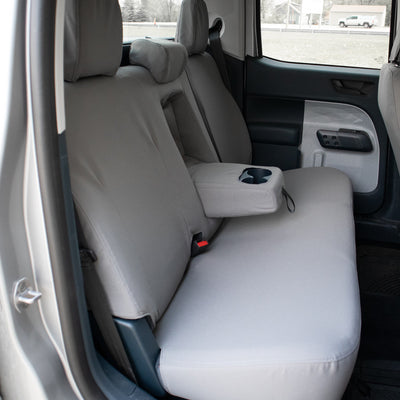
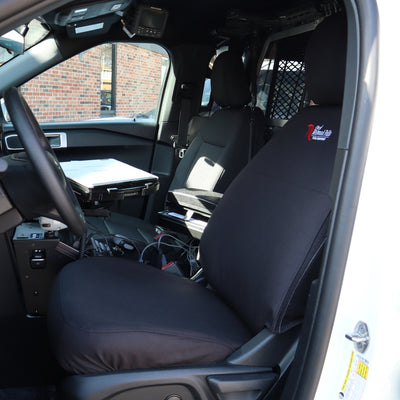
How to Install TigerTough Seat Covers and What to Expect
Each TigerTough custom seat cover is shipped with step-by-step color instructions on installing them on the exact vehicle they were specifically designed for.
So if you ordered seat covers for your 2017 Toyota Tacoma, you’ll get instructions on how to install those covers in a 2017 Toyota Tacoma. Pretty nice, right?
There are covers in the seat cover world that look awful because the installation process is confusing or inadequate. It’s a common problem with seat covers. We addressed this head-on by making installation as straightforward as possible.
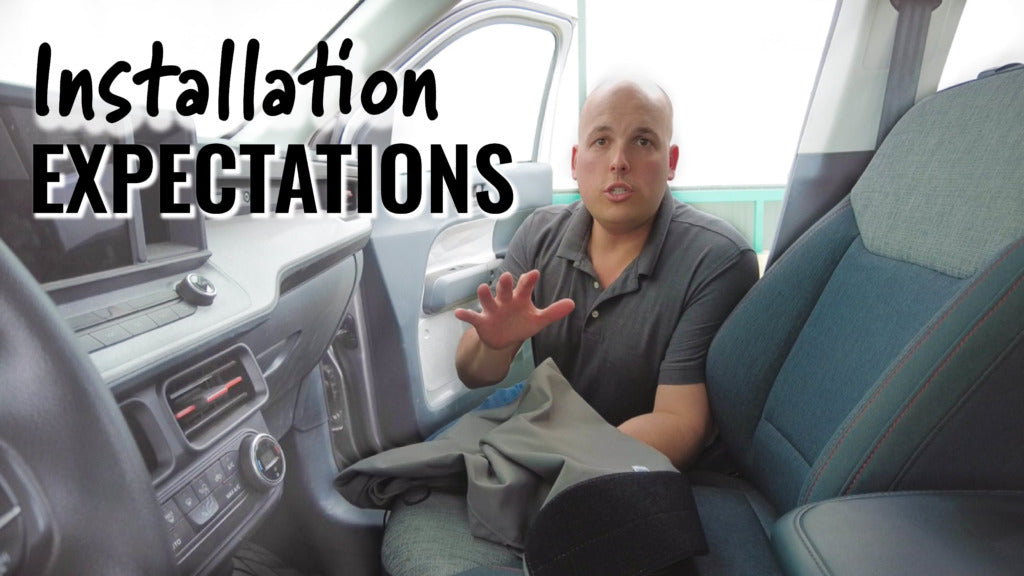
And in case you toss your instructions in a moment of confidence and need a few pointers along the way, you’re in luck because we record installation videos for every vehicle.
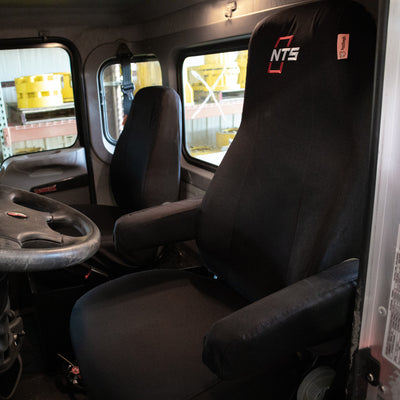
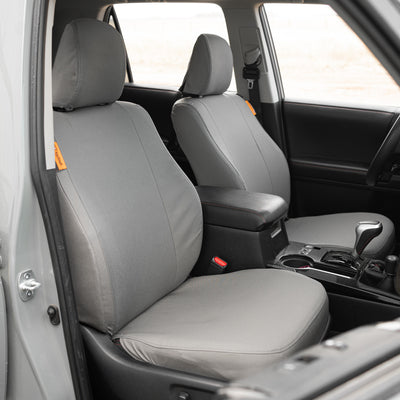
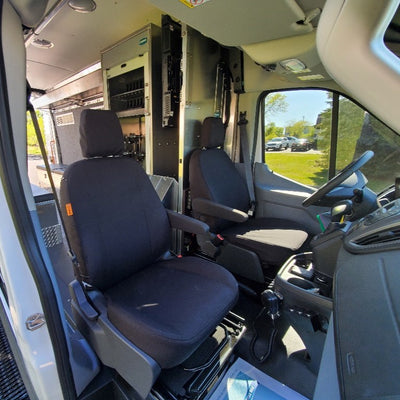
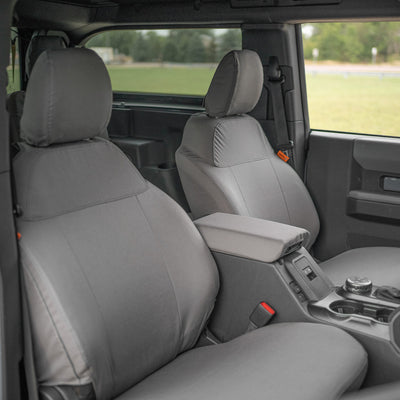
Since each vehicle is different, each seat cover install will be different.
We’ll walk you through what a typical installation looks like.
Watch the video version
Before you start
- Lift and remove the headrest.
- Lean the seat back.
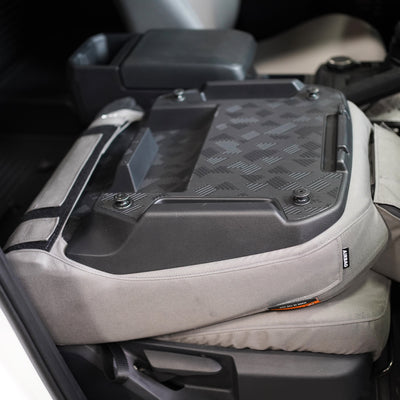
- Remove any straps on the underside that hold the carpet up.
- If you have a Ford, unclip the plastic connectors under the seat–they might feel like they’re going to break, but they will come off.
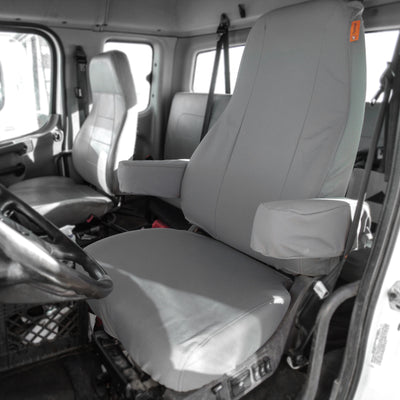
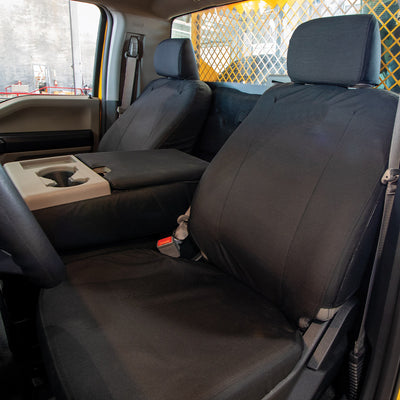
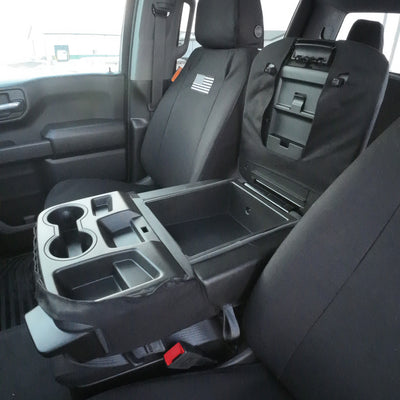
Installing the seat bottom cover
- Make sure you start with the correct seat cover–passenger and driver’s seats are different, so just look for the tag.
- Line the seams up.
- Push the top flap of the seat cover between the seat back and the seat bottom.
- Take the strings and put one between the seat and the center console and cover and one between the seat cushion and plastic on the door side. These need to go down and under the seat, not straight back and behind the seat.
- Tuck the cover between the cushion and the plastic trim around the seat.
- Go behind the seat and find the strings you ran through the sides of the seat.
- Run them under the seat. Look at your specific instructions to see if you need to run them behind or in front of the seat mounts.
- Pull them as tight as you can.
- Find the StringLock.
- Run the strings through each side of the StringLock as tight as possible and clamp it (the tighter, the better!).
- Run the front seat flaps over any seat-adjusting bar and under the seat.
- Pull tight on the front and back flaps and fasten them underneath the seat.
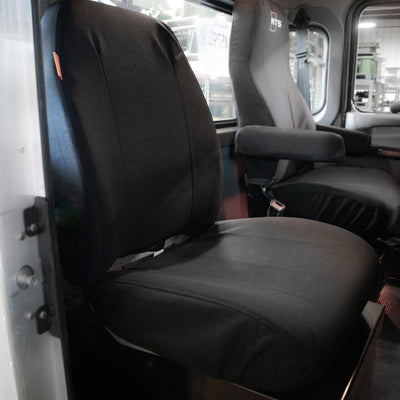
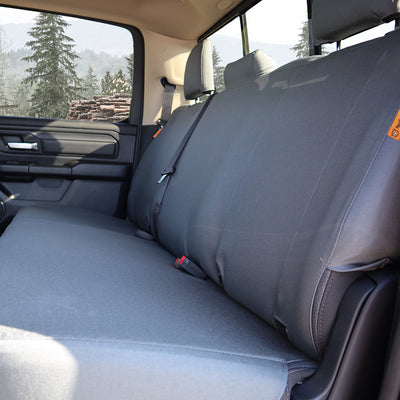
Installing the seatback cover
- Make sure the airbag tag is on the door side of the seat.
- Slide the cover over the seat.
- Press the cover down around the plastic headrest mounts.
- Go to the back and tuck the carpet flap up into the seat cover.
- Push the front flaps through the seat crease and fasten them on the backside.
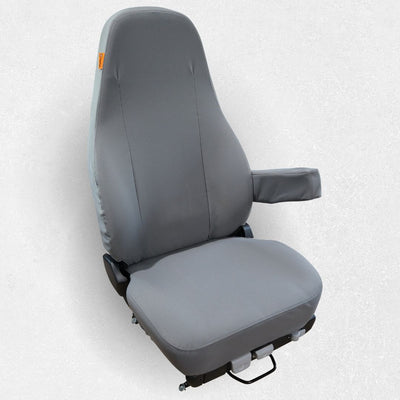
Lastly, installing the headrest cover
- Put the headrest back in, but don’t put it all the way down.
- Take the cover and make sure the long flap is in front.
- Tuck the flap to the back and secure it.
- You can put the headrest down now if you’d like.
How easy was it?
We’ve installed other seat covers (check out this Carhartt install we did) and must admit that ours take longer. Since our covers come in multiple pieces, you’ll get a better fit, but it will take a little while to get those pieces where you want.
We say to expect to spend up to 45 minutes per seat on installation.
According to Hunt Tested:
“If you’re looking for a seat cover that you can throw on for the weekends and then take off during the week, this cover is likely not the best choice. While you certainly can remove and reinstall these covers, the process is involved enough that I wouldn’t want to do it frequently. To get a precision fit, you give up being able to quickly and easily take the covers on and off.”
Wrapping it up
These aren’t the easiest to install, but they’re also not rocket science. If you’ve ever stepped foot on a job site, you can install these. And we can assure you that every installation step helps give you the best-looking fit on your new seat covers.
Every vehicle installation is going to vary a bit. But we won’t leave you in the dark. You’ll get detailed instructions, an install video, and you’re always welcome to contact us if you’re stumped. And if you want to skip the installation altogether, check out one of our 850+ dealers.
Recent Posts

Will seat covers ruin leather seats?

8 reasons why TigerTough is built for the blue-collar life

Seat covers that actually hold up in fleet vehicles